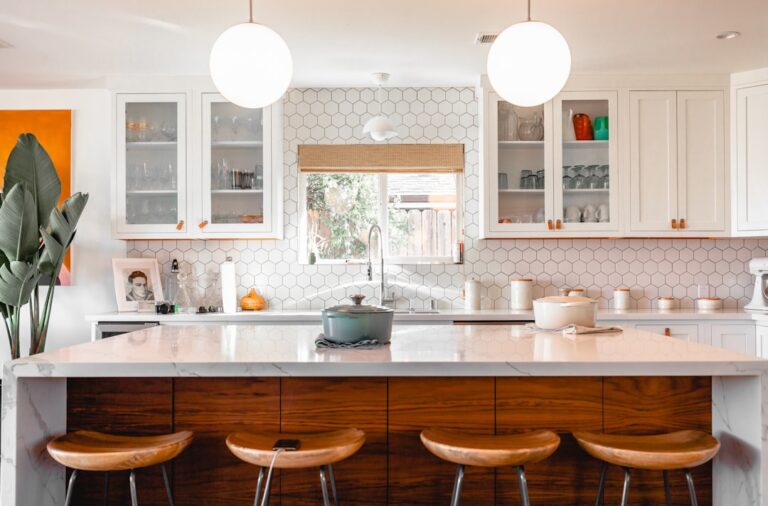
A well-organized pantry saves more than space. When you can see what you have, you stop buying a third jar of paprika, food doesn’t expire at the back of a shelf, and cooking dinner gets a lot less stressful. The good news: you don’t need a custom pantry or a cart full of matching containers. Most of the best pantry organization ideas cost very little, and some cost nothing at all.
Here are 15 pantry organization ideas on a budget, from a free weekend reset to cheap containers, DIY storage and tricks for small pantries and kitchens with no pantry at all.
Start for free: empty, sort and zone
1. Take everything out
It’s tempting to organize around what’s already there, but the only way to see what you really have is to empty the shelves completely. Wipe them down while they’re bare. It takes an hour and costs nothing, and it’s the step that makes every other idea work.
2. Check dates and declutter
Throw away anything expired or stale, combine half-open packets of the same thing, and set aside unopened food you’ll never use to donate to a local food bank. Most people are surprised by how much space this frees up. If clutter in the rest of the house feels overwhelming too, our guide on how to start decluttering walks you through it room by room.
3. Group food into zones
Sort what’s left into simple categories that match how you cook: breakfast, baking, pasta and grains, canned goods, sauces and oils, snacks, and drinks. Then give each category its own shelf or section. Zones are the real secret of a tidy pantry: when everything has an obvious home, it stays organized.
4. Put the things you use most at eye level
- Eye level: everyday items such as cereal, pasta, rice, oils and snacks.
- Top shelves: extra stock, party supplies and things you use a few times a year.
- Bottom shelves and floor: heavy items like drinks, potatoes and onions, and kids’ snacks they can reach themselves.
Cheap storage that makes the biggest difference
5. Decant staples into clear containers
Clear, airtight containers keep flour, rice, pasta, cereal and sugar fresh, stop pests, and let you see at a glance when you’re running low. You don’t need an expensive matching set: start with the four or five things you use most, and add more over time. Square containers waste less space than round ones.

6. Reuse glass jars
The cheapest containers of all are the ones you already have. Washed jars from pasta sauce, jam and pickles are perfect for spices, seeds, nuts, dried fruit and small pasta. Soak off the labels, give the lids a coat of spray paint if you want them to match, and you have a free set of storage jars.
7. Use baskets and bins for loose items
Bags of chips, sachets, granola bars and packets slide around and make shelves look messy. A few baskets or plastic bins corral them neatly and slide out like drawers. Dollar-store bins work just as well as designer baskets; choose the same color for a calmer look.

8. Make a grab-and-go snack bin
Put individual snacks in one open bin at a height kids can reach. They can help themselves without emptying the shelves, and you can see in seconds when it’s time to restock. A wooden crate or cardboard box covered in contact paper works perfectly.

9. Add a turntable for bottles and jars
A lazy Susan turns a deep corner into usable space. Spin it to reach oils, vinegars, sauces and spreads without knocking everything over. It’s one of the cheapest upgrades with the biggest payoff.

10. Label everything
Labels keep the system working long after the weekend you set it up, because everyone in the house knows where things go. Use a label maker, printable labels, chalkboard stickers or simply masking tape and a marker. Write the expiry date on the back of decanted food.

Make more space without a bigger pantry
11. Add shelf risers
Most pantry shelves have wasted space above the items. Wire shelf risers double the usable surface, so you can stack cans, spices or small jars in two tiers and still see everything at the back.

12. Hang baskets under the shelves
Under-shelf baskets simply slide onto an existing shelf and create a new mini shelf beneath it. They’re ideal for bread, wraps, tea and spice packets, and they need no tools to install.

13. Use the back of the door
An over-the-door organizer is the most budget-friendly way to add a whole extra storage zone. Fill clear pockets or wire racks with spices, packets, foil, baking supplies and small cans. If you have no pantry door, a narrow rolling cart beside the fridge does the same job.
14. Screw jar lids under a cabinet
A classic DIY trick: screw jar lids to the underside of a cabinet or shelf, then twist the jars into place. Your pasta, nuts or spices hang in plain view and the shelf below stays free. All you need are a few jars and a screwdriver.

15. No pantry? Create one
Small kitchens can still have a pantry. Dedicate one tall cupboard to food, add a freestanding bookcase or shelving unit in a nearby hallway, or use a slim rolling cart that slides between the fridge and the wall. The same rules apply: zones, clear containers and labels.
Keep it organized
- First in, first out: put new groceries behind older ones so nothing expires unnoticed.
- Keep a running list on the pantry door or your phone, and add items as soon as they run low.
- Do a five-minute reset every week before you shop: wipe a shelf, put things back in their zones and check what you need.
- Don’t buy containers first. Declutter and measure your shelves, then buy only what fits.

Want more ideas? See our clever pantry organization tips, our kitchen hacks and food storage tips, our kitchen ideas and the complete home organization guide.
Frequently asked questions
How can I organize my pantry cheaply?
Start with the free steps: empty the shelves, throw away expired food and group what’s left into zones. Then reuse glass jars, add a few inexpensive bins and a turntable, and label everything. Shelf risers and under-shelf baskets are cheap ways to add space.
What should go on each pantry shelf?
Keep everyday items at eye level, spare stock and rarely used items on the top shelves, and heavy things like drinks and potatoes on the bottom. Snacks for children can go on a low shelf they can reach.
Should I decant everything into containers?
No. Decant the dry staples you use most, such as flour, sugar, rice, pasta and cereal, where airtight containers keep food fresher. Cans, bottles and sauces can stay in their original packaging.
How do I organize a small pantry?
Use vertical space: shelf risers, under-shelf baskets, an over-the-door organizer and stacking clear containers. Keep only food you actually use, and store bulk buys or extras somewhere else.
Some pantry photos in this article come from Making Lemonade.

Written by
Ideas, guides and real budgets for home, garden and travel, published on World inside pictures since 2013.