 World inside pictures Collect and share the best ideas that make our life easier
The photo printing industry is alive and well, and one reason it’s still going strong is that printed photos make great wall art! Photo gallery walls are more popular than ever, but it takes a bit of skill and forethought to get it right. If you want to create a truly striking photo wall in your home, you need to display your photos in the best way possible. This photo printing guide will talk you through the process from start to finish.
#1. Printing
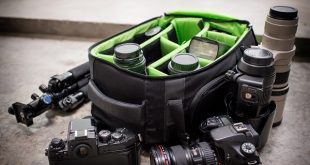
These days you can easily print photos at home, and some home printers even print on photo paper. But unless you’re going to be using it quite often, buying your own printer probably isn’t really cost-effective.
Our recommendation is to check out online printing services. There are some well-known online stores that charge factory prices for premium-quality photo prints. If you want to create your own mini art gallery at home, look for a company that doesn’t just sell the prints themselves but offers frames and matting too.
#2. Matting
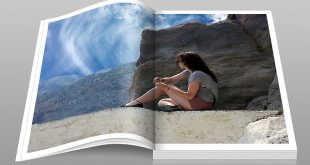
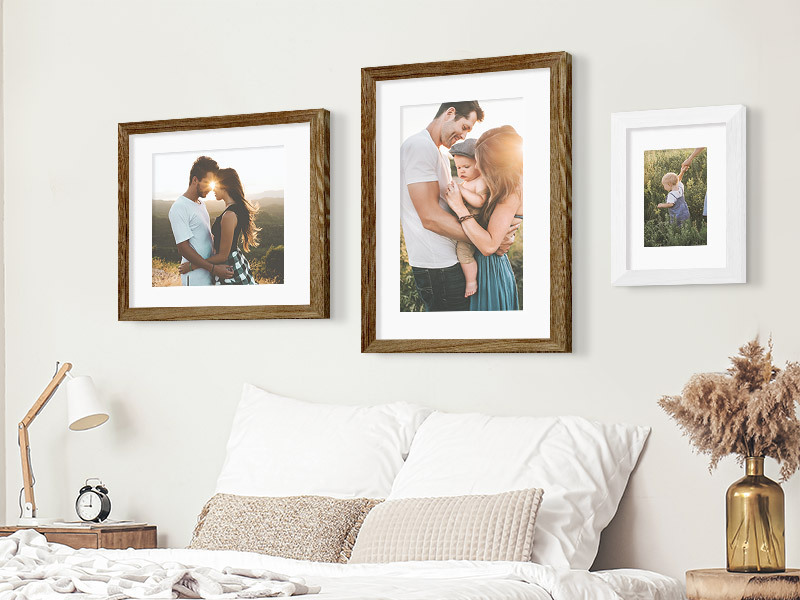
Some photos look great with full-bleed framing (meaning there are no gaps between the print and frame), but others look better with a mat. A photo mat, sometimes known as a passe-partout, gives a print space to breathe while also drawing attention to it – it’s a great way of bringing gallery style to your home photo display. Try to find a mat that’s made from museum card-stock, and that’s cut at an oblique angle to avoid shadows being thrown onto your photo.
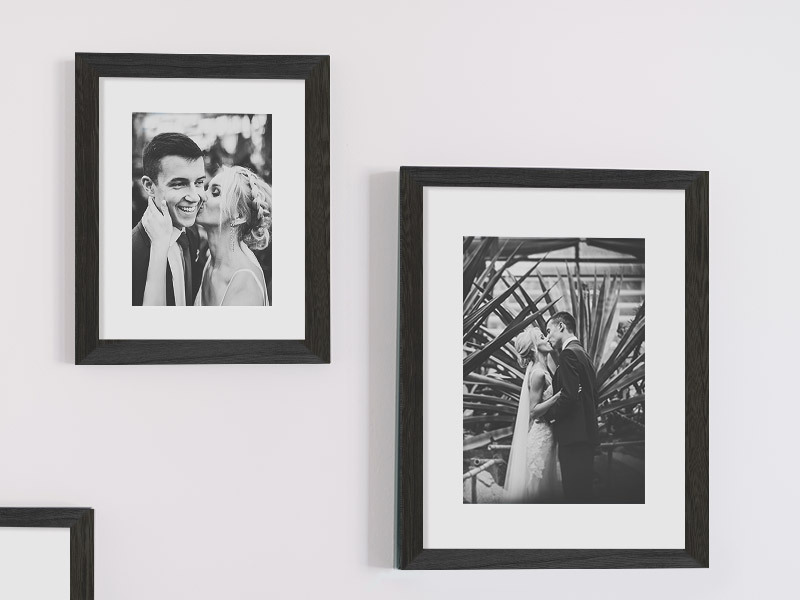
#3. Framing
A frame that matches your photo will enhance its visual impact, while a poorly chosen one can spoil it. A common mistake is choosing a frame that’s fussy, or a garish color – if your frame is distracting attention from the photo rather than complementing it, it’s not doing its job. If in doubt, choose an understated frame in a sympathetic color to give your framed picture a convincing gallery look.
#4. Covering
Any photos displayed on the wall will be at risk from dust, fingerprints and UV, so you’ll want to get them covered. A cover is a key part of any framed photo – it provides a sense of completeness, protects against wear and tear, and can even enhance colors.
One of the most popular solutions here is acrylic glass, or Plexiglas – a thermoplastic material at least 10 times as strong as traditional glass. It’s usually more expensive than regular glass, but you can still find discount printing services – CanvasDiscount.com for example – that include acrylic glass covers as standard with their framed photos.
#5. Composition
Even the best quality prints can lose some of their charm if displayed poorly – so you need to think about not just where but also how you hang your framed photos. Before you touch that hammer, make sure you’ve spent a bit of time choosing the right composition. Here’s some advice on how to arrange your framed photos according to the types of photo you’re using and the decor style of your room:
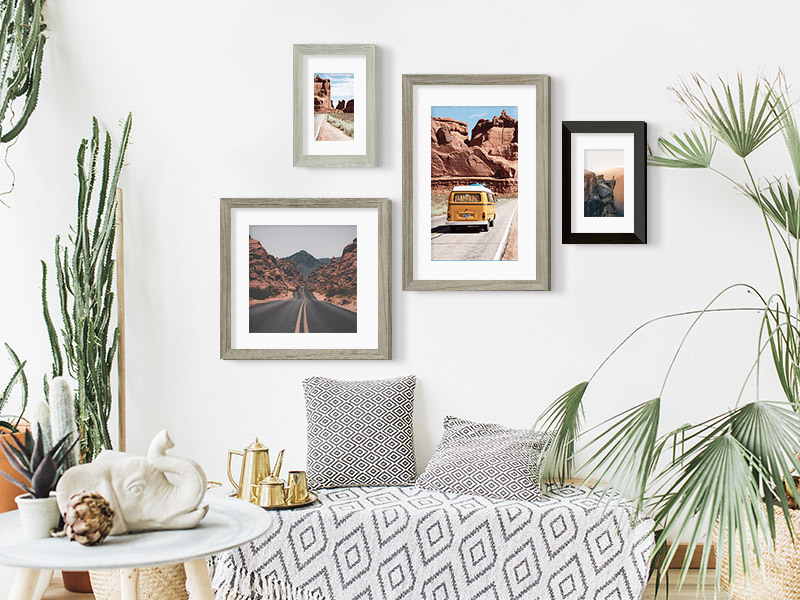
Classic symmetrical arrangement
The easiest way to display framed photos is to hang them in symmetrical groups over a couch, table or mantelpiece. A bit boring? Not at all, so long as you choose vibrant photos showing some imagination as to frame color and texture. Note that you won’t need showy frames to make your photos stand out – pure colors and clean lines will work just fine.
Chaotic Gallery Wall
Want to bring some creative chaos to your living space? Then take an asymmetrical, eclectic approach to your gallery wall! There are just a few simple rules to arranging a striking photo display: stick to a unifying theme; work with one or two dominant colors; don’t be afraid to add elements other than photos (postcards or posters for example).
It’s always a good idea to preview your gallery wall layout before you start hammering or drilling – with the help of some Post-It notes and a tape measure, you can mark out the positions where your photos will go, making little adjustments until the composition feels right. Note: prints always need a bit of breathing space, so keep at least 2” of space between pictures.
Mixing Different Types of Wall Art
Printing companies offer many wall art options besides framed photos – canvas prints, metal prints, even lightweight photo tiles. While some prints look best on their own (such as imposing canvas prints or panoramic photos printed on metal), others are better suited to eclectic displays featuring different print mediums, formats, and sizes.
Canvas prints and framed photos make an ideal combination for this kind of wall art display. Thanks to different framing techniques, canvas and framed photos bring a sense of physical contrast that can help make your prints the focal point of any room.
There’s no sense in hiding your photos away on a hard drive – great pictures deserve to be seen. Follow these tips and you’ll be able to create a fabulous gallery wall, so why not go through your digital archives now and start finding the perfect photos?