 World inside pictures Collect and share the best ideas that make our life easier
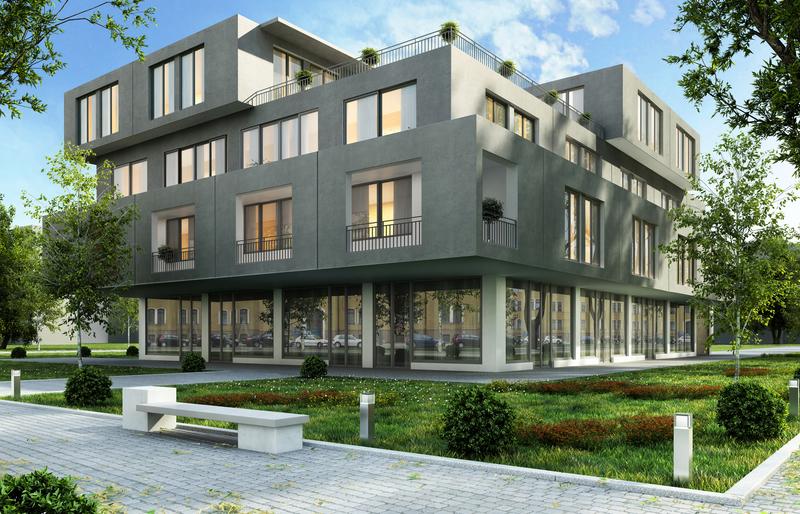
Selling real estate is about more than just providing people with homes; it’s also about assisting your customers in obtaining their dream homes, stores, and workplaces, among other things.
And, most of the time, when someone is out looking for a property, the first thing they see are the photos you’ve used in your listings and adverts. As a result, visuals have a significant influence in influencing a person’s decision to buy or not buy a property.
Professional real estate photography is always in demand with homes on and off the market regularly. And all agents compete with the greatest quality photographs for homebuyers’ attention.
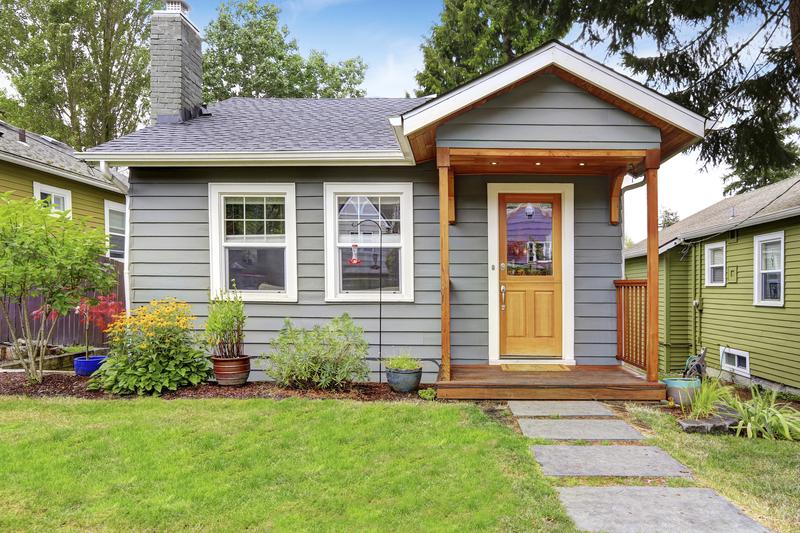
The professional shooting of real estate may at first seem a bit challenging. Because most real estate photography is done indoors, there isn’t much natural light available for the session. And, as you may know, photography is all about lighting and exposure, so the photographs you get immediately out of the camera after your real estate photoshoot aren’t always spectacular.
As a result, real estate brokers must outsource their real estate photo editing and retouching services to pros to make those images look beautiful and more engaging, despite the lack of natural light.
However, you will get gorgeous, consistent images with these simple real estate photo editing tips and techniques. You will be called back by your local agents in the real estate sector.
1. Cropping can help you improve your composition
Cropping is an excellent approach to compensate for the photographer’s composition faults at the time of the shoot. This is one of the most underestimated editing tools because it can help you remove any unwanted parts of an image.
Cropping allows you to modify the aspect ratios of your photographs to exactly suit the requirements for various sites while also helping you stand out from the crowd. This also alters the image’s perspective, allowing you to highlight the components you want to highlight. All you have to do now is make sure you don’t overcrop the photographs, which could make them appear a little misleading.
2. Make the lines straight
When photographing properties, start by trying to get the lines straight — squinty photos can gently weaken people’s trust in the property. If you make a mistake and end up with a squint photograph, you may straighten it afterward in Photoshop to create picture-perfect property photos. The Free Transform tool in Photoshop will help you smooth out your photos; pick the entire image and move the cursor to correct the lines.
3. Make Use Of The Optimal Exposure Level
As previously said, one of the most significant components of image editing is lighting, as brilliantly illuminated photographs seem to draw people’s attention. And a survey found that when people are asked to choose between two similar photos, they are more likely to choose the brighter one.
As a result, you must ensure that your real estate photographs are appropriately lighted. When the photographs are dark, it’s possible that the viewer won’t notice all of the property’s characteristics and highlights.
As a result, you must not only enhance the exposure, but also consider contrast, brilliance, and shadows. The idea is to make the image appear as real as possible.
4. Enhancing the Image
Whatever area of business you’re in, you’ll need to have your photographs upgraded because the images from the shoot are frequently insufficient. Enhancement is the final push that each photograph requires to become even more remarkable. This tool assists you in creating the image you want for your listings and adverts. You’ll need to adjust the image’s brightness, contrast, sharpness, and white balance to do this.
5. Change the perspective of the image
This feature allows us to adjust the angle at which the photo was taken. This is also a useful tool because changing the perspective of a photograph can dramatically improve its effectiveness. This can also be used to cure lens flaws.
6. Correct the color of your photos
The majority of real estate images are taken indoors, thus the colors are off. And, because our goal is to make the image appear more genuine and realistic, we’ll have to make those alterations in post-production. Even the most expensive cameras are subject to this.
7. Remove any unwanted elements
It’s not always possible to clear a place before photographing it, especially if it’s still occupied. This feature aids with the professional appearance of our photos. This allows you to remove all of the unneeded items from the frame. This also improves the image’s effectiveness.
This is an important step to take when editing real estate photos because it adds a touch of perfection. Use Lightroom to get rid of glare in the image, since this can be distracting and makes the image look less professional. In Photoshop, the clone tool may be used to paint over items, cleaning up your photographs in a matter of seconds.
8. The Skies Must Be Replaced
When we look at real estate photos, we usually notice some spectacular skylines and clouds. And the sky isn’t real, which is why it seems so wonderful. The sky is usually acquired from another source and blended with the real estate image in these kinds of photos. This gives the photos a dreamy vibe and makes them even more appealing than previously.
So, if you’re looking for some stunning photographs for your real estate marketing, consider replacing the sky.
9. Fill in the details
These are some of the little details that contribute to the image’s realistic and dynamic appearance. This is done to make the empty room appear less empty and missing.
Small details are added to the area to give a better representation of what the room will look like once it has been purchased. A few plants around the room, a flat TV on the wall with a movie playing, and possibly a fire in the chimney are some of the most prominent examples of these. All of these aspects breathe life into a room that would otherwise be devoid of them.
10. Enhance visibility
When editing Real Estate photographs, you must make certain that the image is clear. This implies you’ll have to get rid of those smudged edges. You may modify the blacks and make them darker to give the picture more depth. However, don’t go crazy with it, or you’ll end up with deeper shadows and an unpleasant or terrible appearance on your property.
11. Make the lighting more uniform
While the front of the house can be photographed in natural light, the interior will require artificial illumination, which can result in uneven lighting. Editing the shadows and highlights in the image is the simplest approach to improve it.
Reduce shadows to make a more flat image if you wish to lighten it up. You can also brighten the image by increasing the highlight, which whitens it. If you wish to lessen the brightness of the image, simply do the opposite.
12. Make use of HDR
HDR mode, which stands for High Dynamic Range, is frequently utilized in Real Estate Photo Retouching. This aids in catching the real depths of color that are often missed by cameras for a variety of reasons.