This text is intended for those who want to paint their own room. For fisrt, arrange the furniture in the room. Move large furniture to the center of the room and cover with polythene cover. Painting a room may seem like a daunting task, but in the end you realize that it was worth the effort. Look at these inspirational painting tricks that have been set up below. They will help you make the task seem less complicated. Spring is the ideal time for cleaning and renovating the house, and among other things, for painting. If you have a little good will, creativity and free time, you can paint completely on your own, without anyone’s help. To make the room you are painting look like it was painted by a professional, follow all the steps that we will present to you below!
Important Things That You Should Consider
The first and perhaps most important step, is choosing a color for the room you are painting. The first thing you need to pay attention to when choosing a color, is the size of the room and the purpose of the room. If the room you are painting is small, then it is best to choose a light color for it that will “open” it or visually enlarge it. Once you’ve determined the color, it’s time to see how much color you’ll need to paint. You will calculate this by first measuring the width and height of all the walls, and then multiplying those dimensions. That way you will get the square footage.
Remodeling and decorating around your home could not pass without painting. If you do all this things alone and if you love to DIY than a few painting tricks could be helpful. From prep tips to cleanup to make that chore a little easier. These tips are absolutely smart and very useful. So dear friends if you would love to make refreshments around your home with painting these are must know tricks to make everything easier. Take a look below and enjoy!
Painting Tricks That Make Painting Easier
1.Paint in an “X” pattern to get maximum coverage
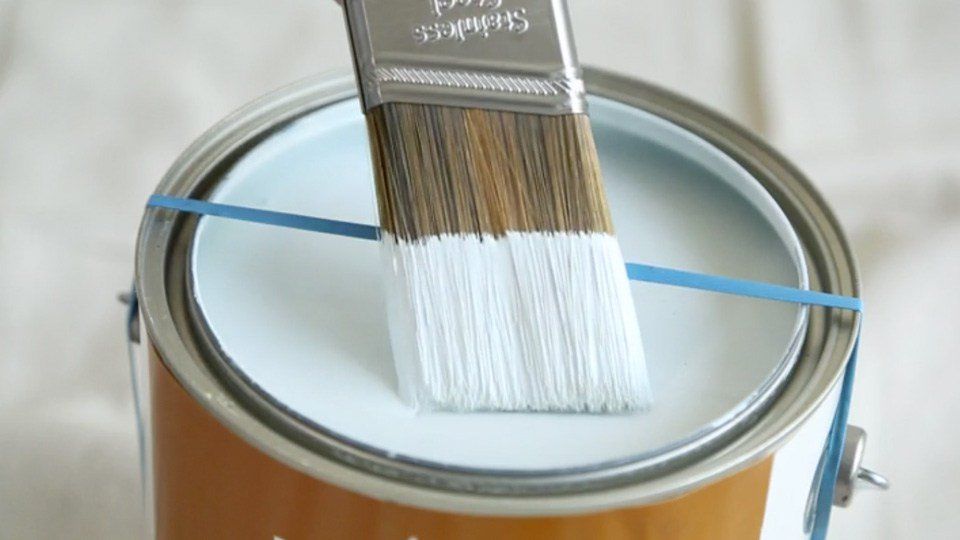
2.Put a rubber band around your paint can before you start. Than you can scrape off the excess paint from your brush.
source
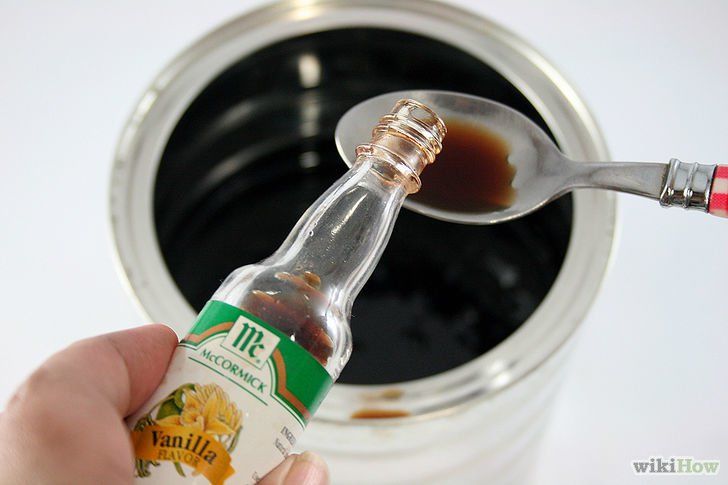
3.Open your paint can. For every half a litre of paint, add one teaspoon of vanilla extract and mix it
 source
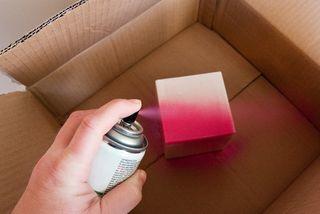
4.When spray painting, put the object in a cardboard box to contain the overspray. Smart!
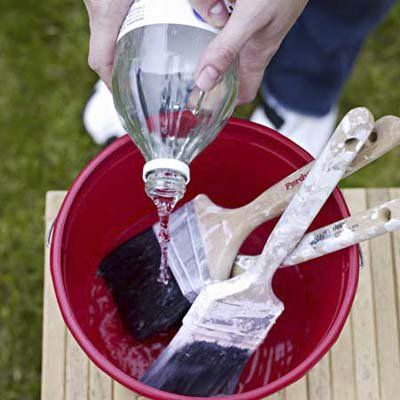
5.Get dried paint brushes clean again with some hot vinegar. Let them soak for 30 minutes to soften the paint.
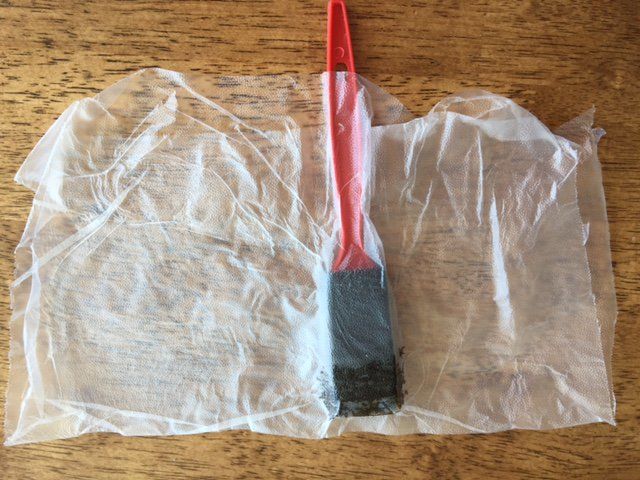
6.Press ‘n seal wrap is fabulous for storing wet paint brushes in the fridge.
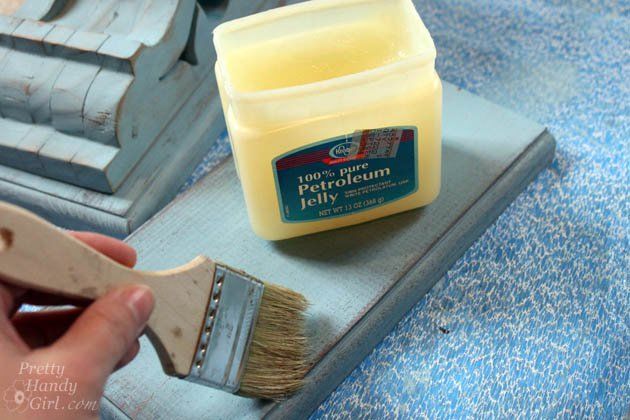
7.Put Vaseline on any area that you want to resist paint. This even comes in handy when you’re painting your nails!
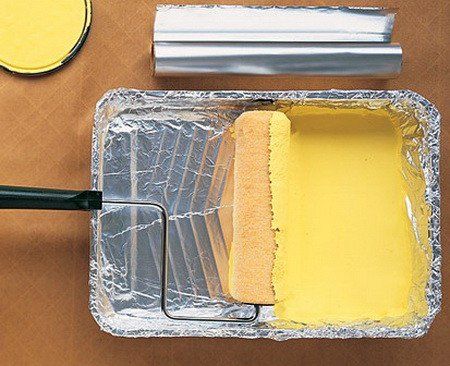
8.Add aluminum foil to your paint tray before pouring the paint to make cleanup a breeze!
9.Do edge work first. You will not have to climb a ladder or get down on your hands and knees to finish the edges.
10.Use rubbing alcohol to find out if the existing paint is oil-based or latex. Important to know!
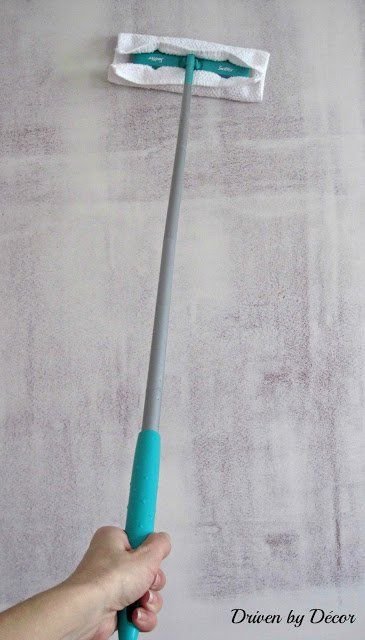
11.Go over your wall with a dry Swiffer to remove dust before you start painting.
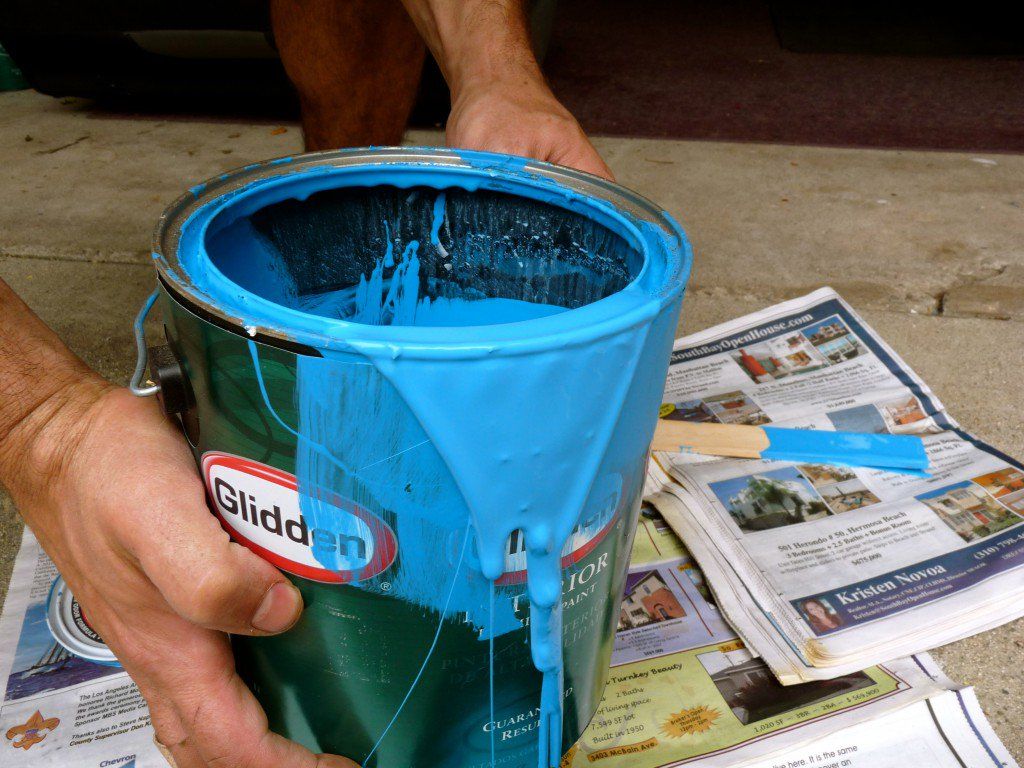
12.Add holes to the rim of the paint can to keep paint from dripping over the sides. This also prevents the lid from getting stuck when you close the paint.
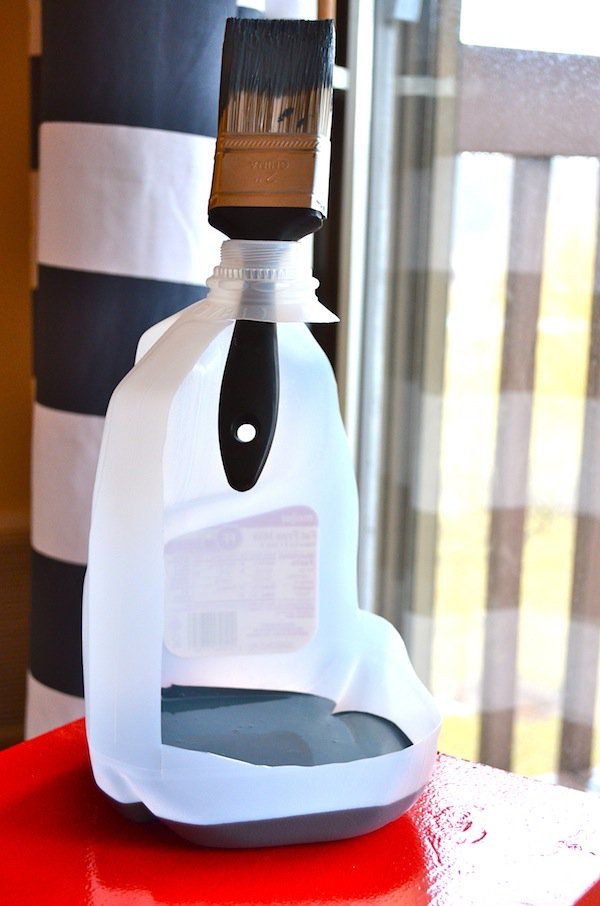
13.Cut out a plastic milk jug to use as a paint and paintbrush holder. So handy!
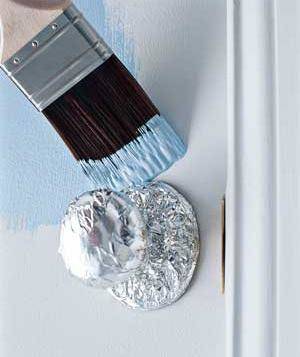
14.Protect your door knobs with aluminum foil before you start painting a door.
 source
 World inside pictures Collect and share the best ideas that make our life easier
