 World inside pictures Collect and share the best ideas that make our life easier
Giving embroidery a good try can seem intimidating due to the huge array of tutorials and supplies that are out there, such as embroidery digitizing software. But it doesn’t have to be this huge endeavor that leaves you feeling stressed and unprepared.
Embroidery should be something that you do for fun to create cool, unique designs that will have your friends and family asking for cool designs for themselves. But what do you need to get started? Here is a helpful guide.
Getting the right materials
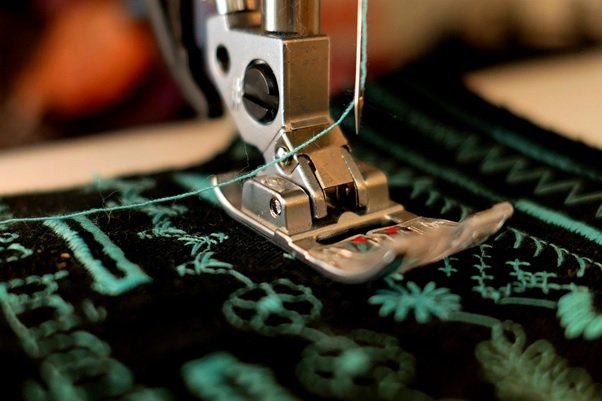
If you don’t want to do embroidery by hand as it has been traditionally done, you can use a sewing machine to speed up the process. The experts like Jen’s Sewing Machines can help you make the right choice towards the machine you need thanks to a plethora of information available. It is also important to work with your machine to get a better overall feel for it.
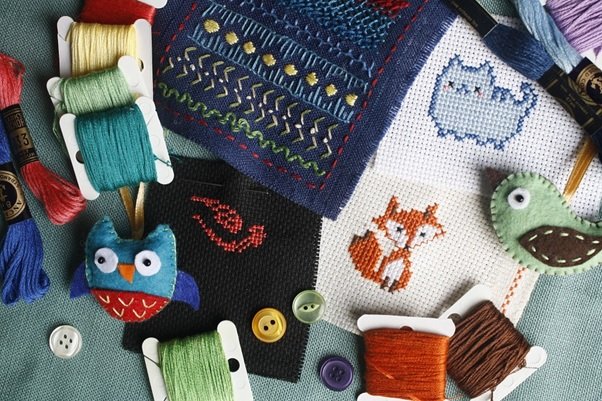
Getting the right fabric you will need is important. Something like evenweave or quilting cotton is a great place to start. You will also need embroidery floss and an embroidery hoop to get you started.
Having a needle to thread the embroidery floss through is essential, though these tend to not be as small as sewing needs and are much easier to see the tip of. Scissors go hand in hand with the needle, just something to cut the floss cleanly and keep frays from forming.
Know your stitches
Embroidery is not a matter of just starting and seeing what you create. Knowing the stitch type and how to do them is important as well. You can choose to make a straight or a back stitch or even a start/stop technique.
A straight stitch is more about making short straight lines than anything else and is the most basic stitch. A back stitch is great for outlining and is meant to have uniformity in each of the stitches. Knowing the difference in these stitches and how to implement them is an important step towards creating your own embroidery.
Applying the finishing touches
When you have completed your stitching, it may seem like you are done, but there is another important step to implement. Upon completion, rinse or soak your embroidery. This will remove any markings and wrinkles that may have been created in the stitching process.
When you have taken it out of the water, use a towel to gently press away any excess water. When you have done this, place your embroidery on a folded towel and then press from the back with an iron to dry it without creating damage to any portion of the embroidery.
Practice makes perfect
Like anything else in the world, you will get better by simply doing it. Spend as much time as you can embroidering to get better at it and you will notice huge improvements in your stitching work. Being persistent is the key to just about anything.
This does not mean that you have to do embroidery every single hour of every single day, but it does mean that repetition is required to get better at it, as is the case with just about anything. Keep working towards improving and you will see your embroidery improving each time that you pick it up.