 World inside pictures Collect and share the best ideas that make our life easier
Some of us like to constantly make changes in your home but do not want to spend a fortune every time. As a result, we present you a few inspirationsl ideas how you can refresh your interior economically. You always need to add personalized decorations to each space, which will make you feel more at cozy. However there are many ways you can make your home look different without requiring a big budget or a lot of effort. So here are some DIY projects to help you to freshen up your home, without wasting a lot money. All of the folowing DIY projects are easy to make. You can find tutorials below the photos. This DIY projects, do not requre a profesional skills, you can do the on your own in your home. All you need are some basic tools that will help you in the process.
Budget Friendly DIY Projects
The little things make the house look warm and like a real family home. So why not cheer up your house a little bit? And no, you don’t have to throw money, because you can do it by yourself. It’s amazing how much we can do with the items we thought we’d throw away. It only takes a little willpower and creativity to transform old, worn-out things, into functional and beautiful DIY projects. There are several creative ways to give a new purpose to old furniture, and create unique DIY projects that fit in every home. See how your old furniture can shine again. Invest your time and energy — not money — to create a beautiful home. These DIY projects and info, will help you to start. Have fun!
String Art
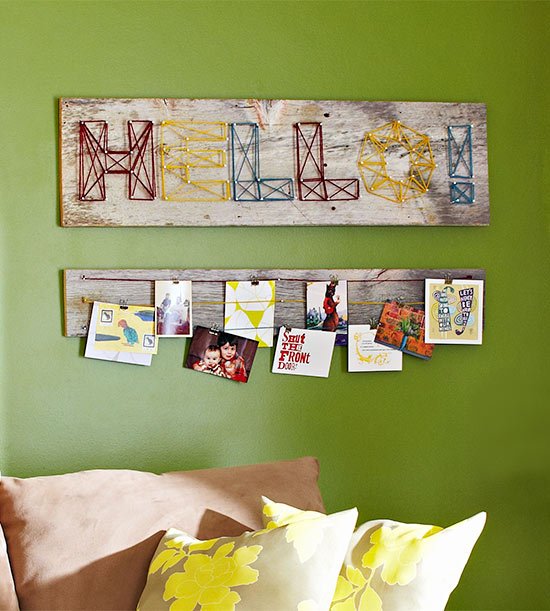
All you need to create this funky string art is string, nails, and a board. Map out your design and hammer the nails into the board (don’t pound the nails in completely). Wrap string around the nailheads to for the design. If you’re spelling a word, print out the letters and cut them out. Arrange the letters on the board and hammer a nail into each corner of the letters. Wrap string around the outlines of the letters first, then fill in the letters with woven designs.
Stairway Art 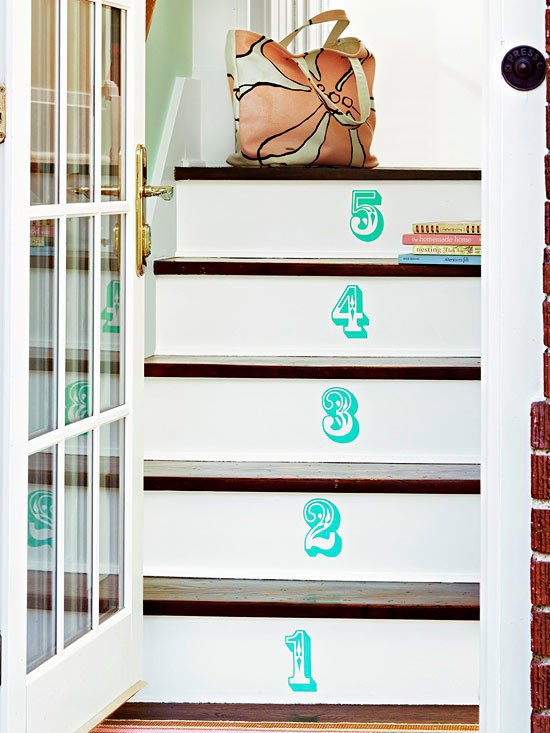
Give a ho-hum staircase a lift by dressing up the risers with decals. Try a design or pattern that extends the width of the risers, or go whimsical with number decals.
And Cute to Boot 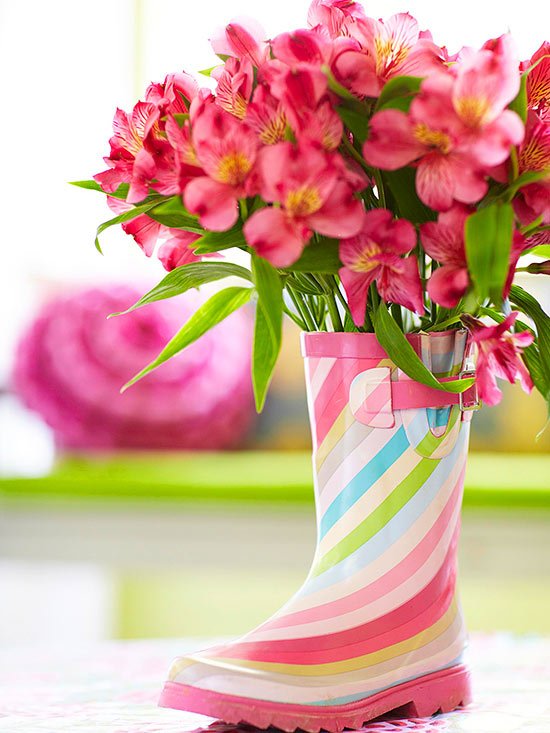
Put your best foot forward with a unique flower vase. Arrange your flowers in a regular vase (make sure it will fit inside the boot first). Then simply tuck the vase inside the boot — the more colorful, the better!
Gilded Jars 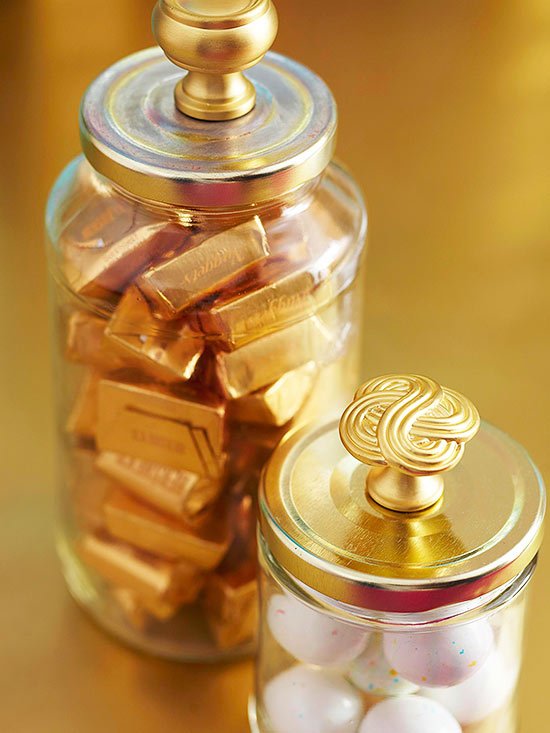
Rescue glass jars bound for the recycling bin for this upcyled project. Clean out the jars and poke a hole in the top of the lid and screw a cabinet knob through the hole. We paired gold knobs with gold lids, but you can also pain the lids to match your hardware.
Birch Perch 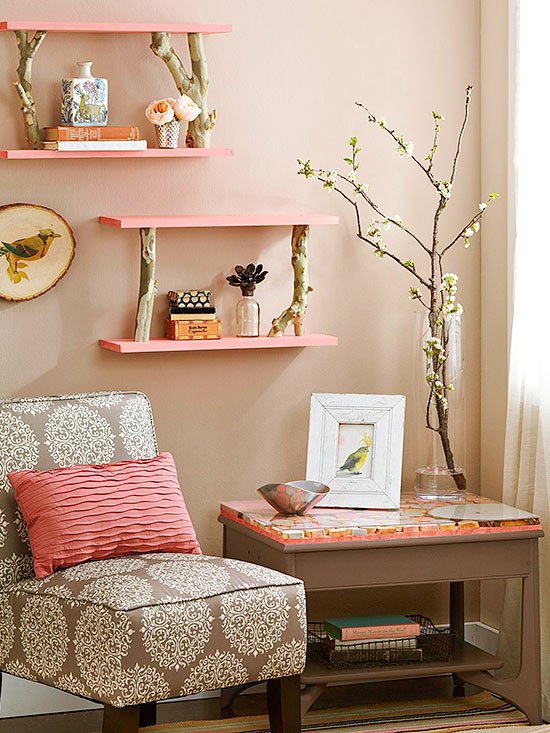
Create shelves with panache using birch logs as supports. Trim sturdy branches to equal lengths, keeping the cuts straight. Paint two 24-inch-long 1×6 boards in the desired color. Attach one board to the bottom of the branches using wood screws, and attach the second board to the top of the branches with wood screws. Hang the shelves using picture-hanging hooks driven into wall studs.
Shiny Starburst 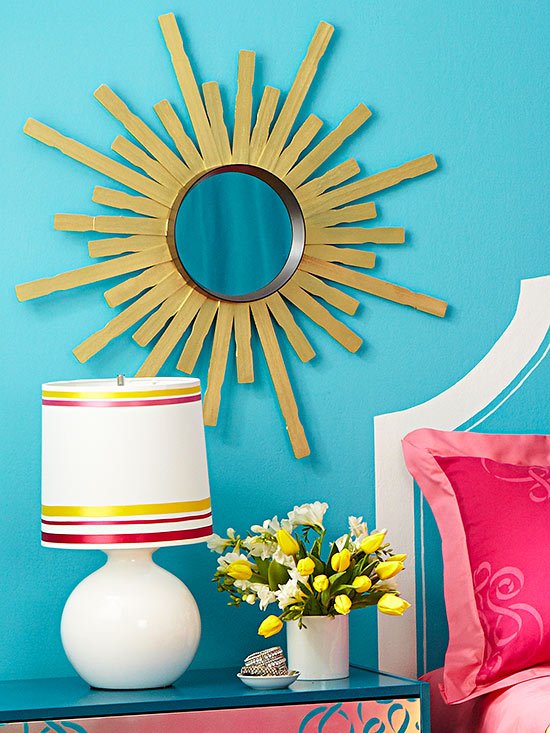
Stir up a DIY mirror using a common project must-have: stir sticks. Use a handsaw to cut stir sticks to desired lengths, then spray-paint them (we used metallic gold paint). Cut a circle from newspaper to match the size of your mirror. Use the newspaper pattern as a guide for edge alignment of the sticks. Adhere the longest sticks at “north-south-east-west” compass points using strong crafts glue. Fill in the remaining spokes, leaving room for the wall hanger.
Welcome Mat
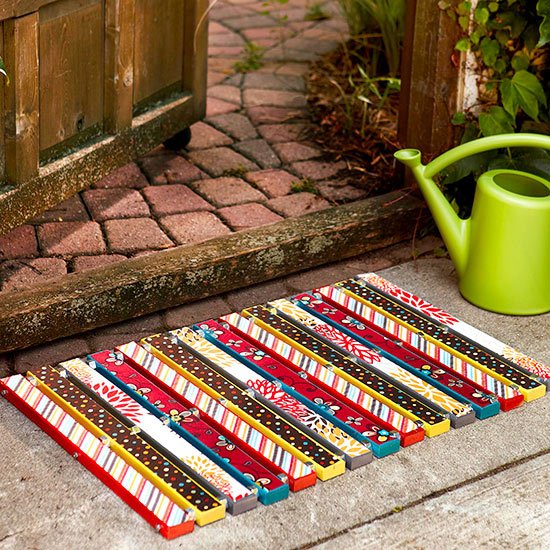
Make a colorful statement at your front door with a DIY doormat. Cut 1×2 medium-density fiberboard (MDF) into fifteen 24-inch-long pieces. Spray-paint the pieces with exterior spray paint, let dry. Cut coordinating fabric strips to size and affix to the slats with spray adhesive. Once dry, apply three coats of clear exterior varnish. To assemble, drill holes through each plank 1 inch from each end and at the center. Thread a small nut onto one end of each of three threaded rods; insert the rods through the holes in one MDF plank. Slide a larger nut onto each rod. Continue alternating planks and nuts. Secure the slats with a nut threaded onto the end of each rod.
Light It Up 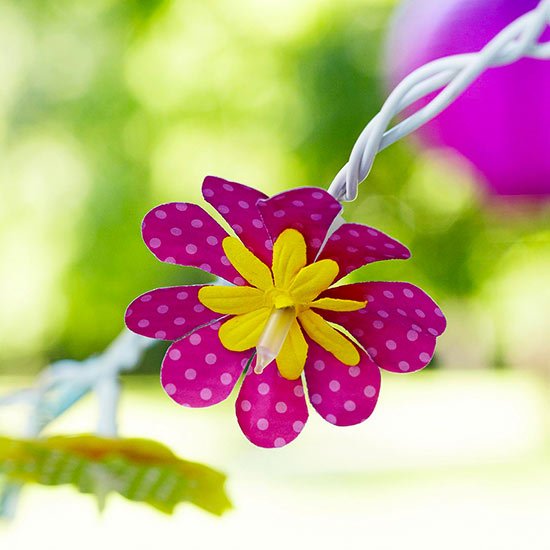
Brighten up your next party with a string of festive lights. Slip precut faux flower petals onto mini outdoor lights and glue into place. Layer smaller and larger flowers together for a bigger impact.Brighten up your next party with a string of festive lights. Slip precut faux flower petals onto mini outdoor lights and glue into place. Layer smaller and larger flowers together for a bigger impact.
Light Effects 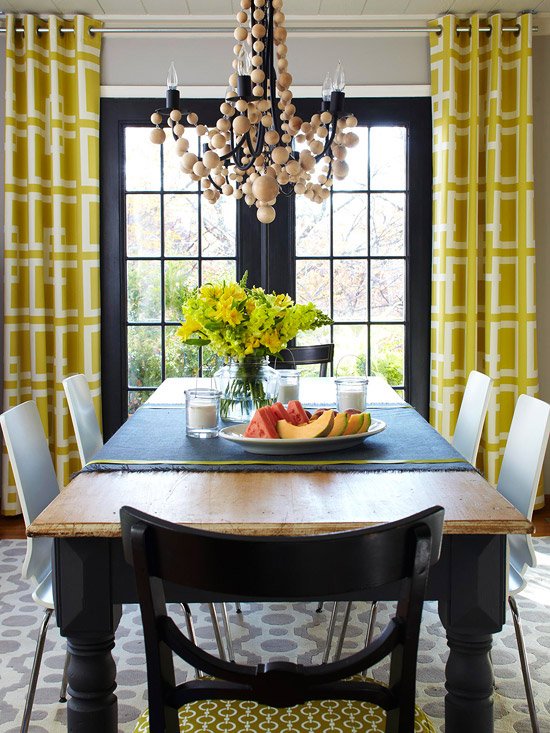
Give a mod twist to a wrought-iron chandelier with a string of wooden balls. Select several different-size balls from the woodworking aisle at the crafts store. Screw small metal eye hooks into opposite ends of each ball. Link the eye hooks to chain the balls together, then drape from the chandelier.
DIY Tip: Use a pair of needle-nose pliers to grasp and twist the tiny eye hooks.
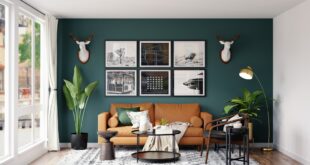
Color Blocking
Highlight a fun collection using a bold swath of color on the wall. Mask off a rectangle that is substantially larger than your wall shelf, then fill in the outline with latex paint (a quart will work great). When dry, rehang the shelf and arrange the collection against its dramatic new backdrop.
DIY Tip: Depending on the size of your shelf, you might be able to purchase a tester-size can of paint, which typically costs $3-$6 for about 5 ounces. That’s enough paint to cover about 10 square feet.
Artful Chairs
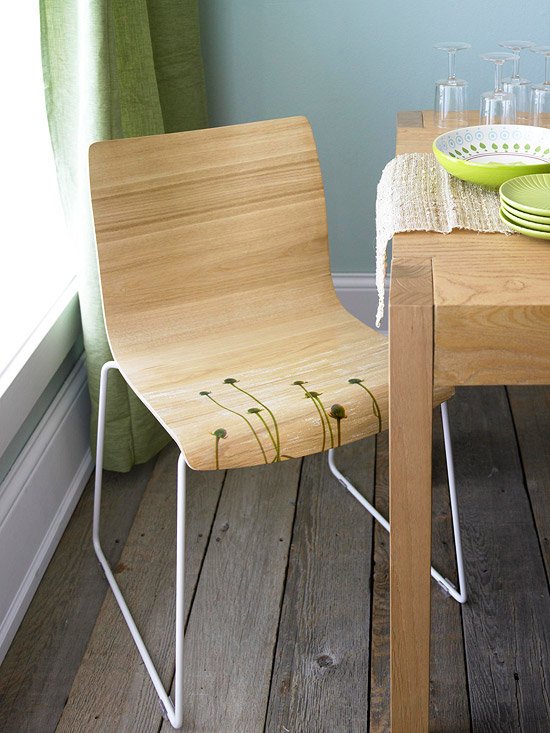
Put your touch on off-the-shelf furniture by transferring any favorite image — a photograph, a bit of a painting, or even a fabric pattern — to the plain surface. Scan the image into the computer and print it on transfer paper, which you can buy online and from office supply and crafts stores (about $20 for a package of ten 8×10-inch sheets). Follow the package instructions to transfer the image. These bentwood chairs have the perfect smooth surface for such a project.
DIY Tip: Be sure to purchase the right kind of transfer paper for your particular ink-jet or laser printer.
Tea Cozy
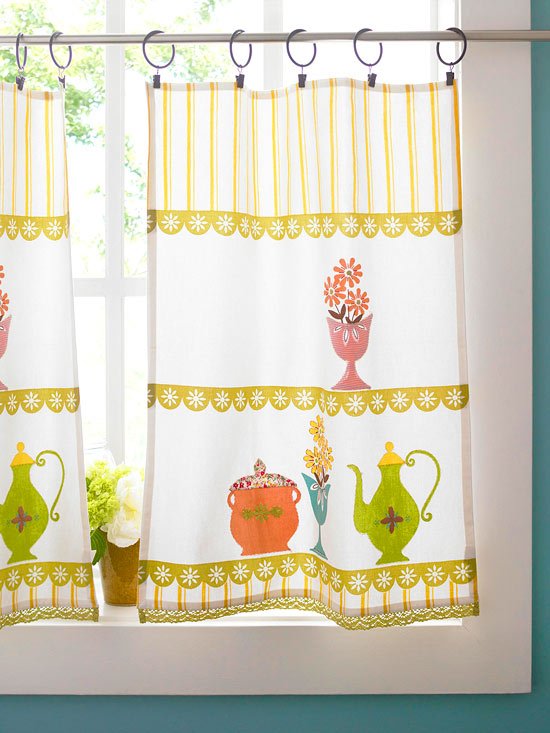
Dress your windows quickly and smartly with tea towels turned into caf curtains. Simply clip drapery rings to the top edges of the towels; thread the rings onto a curtain rod. You’ll want the curtains to hang down to the windowsill, so mount the rod accordingly. If you have a double-hung window, position the rod so the top edge of the curtain lines up with the sash.
DIY Tip: If necessary, trim the towels to length and hem using a sewing machine — or iron on fusible webbing for a no-sew option.
Frosty Glasses
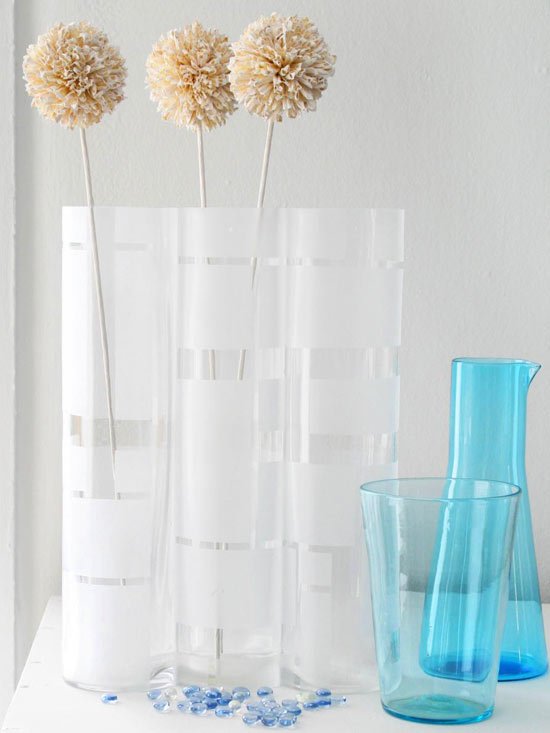
Boost the sophistication of a set of clear glass vases by adding subtle stripes. To get the etched look without messing with caustic etching cream, mask off stripes of different widths using painter’s tape, then spray with paint that mimics the look of frosted glass.
DIY Tip: The more coats of frosted-glass paint you apply, the more opaque and noticeable the stripes. We applied two coats to our vases.
Stick ‘Em Up
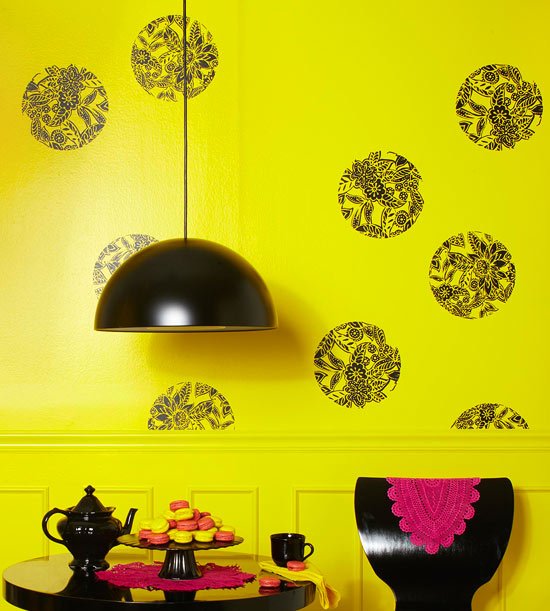
Vinyl wall decals come in an array of patterns and motifs. There are plenty of places — such as big-box stores and niche online sites — to find designs that tickle your fancy, and they can cost just a few dollars apiece. Order them in black so they pop against a mod neon wall color. When you get bored with the look, peel them off and pick something new.
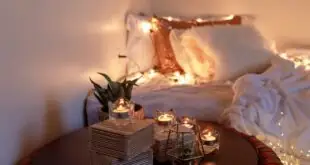
Mood Light 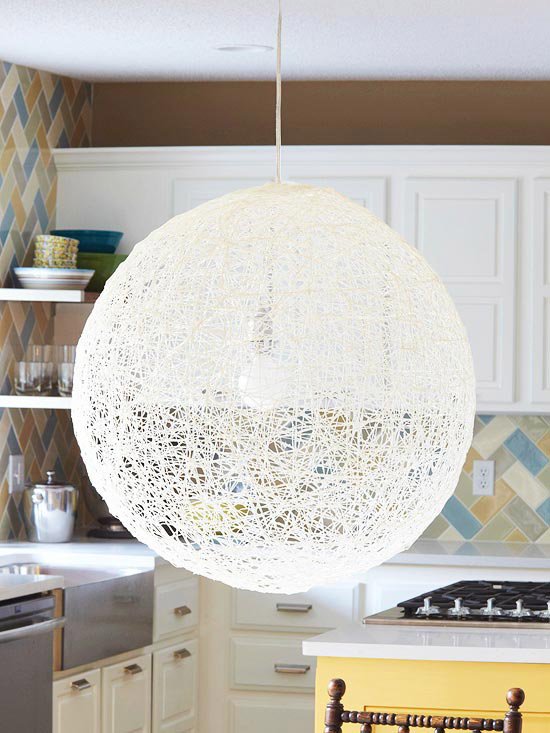
Create a chic, midcentury pendant fixture using just string and a balloon. Purchase a 35-inch balloon from a party goods store, and blow it up to about 30 inches. Brush it with a thick coat of fabric stiffener, which you can find at fabrics and crafts stores. Wrap the balloon with white crochet string, brushing on more stiffener as you work to ensure a thick coating. Let dry for 24 hours, then pop the balloon.
DIY Steps: Illuminate the shade using an inexpensive light kit for hanging lanterns. First, tie a knot in the cord about 7 inches from the bulb. Thread the plug end through a slit in the center of a plastic butter-tub lid. Using kitchen shears, cut a hole in the top of the globe slightly smaller in diameter than the butter-tub lid. Insert the bulb and lid in the globe. Hang the cord from a hook in the ceiling.
On the Block
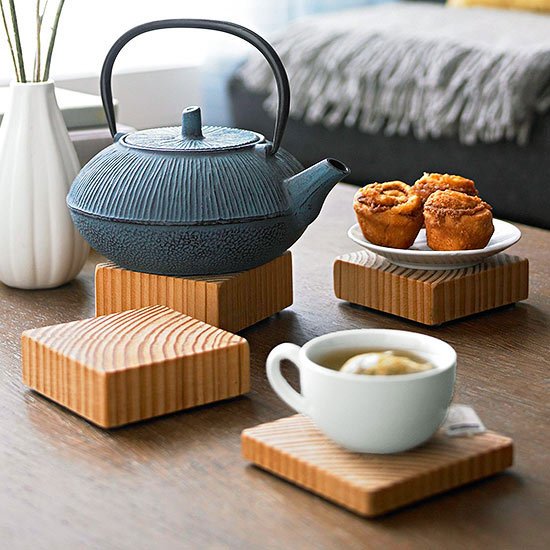
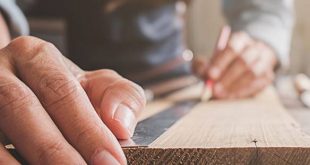
Raid the scrap bins at the local lumberyard or home center to salvage free material for these handy coasters. Cut one 4×4 wood board down to different segments using a handsaw and a miter block to ensure straight cuts. Sand the edges and corners smooth, and apply a coat of natural wood stain and sealer (starting at $15 for a quart) to show off the grain.
DIY Tip: Stick felt pads or cabinet bumpers in each corner on the bottom.
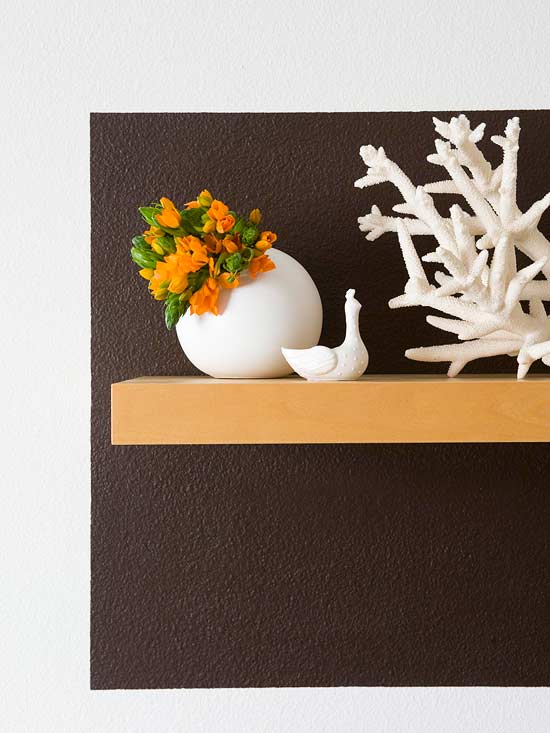
Easy DIY Project
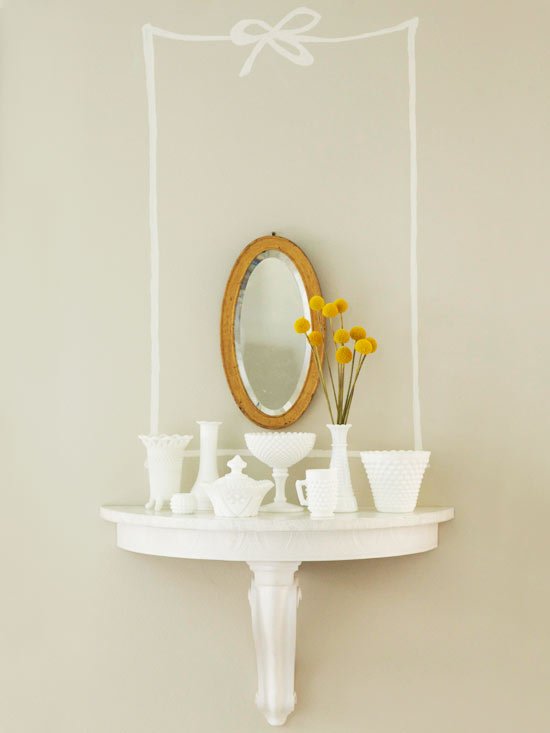
Think beyond a flat arrangement of wall art to create an arresting 3-D display. Start by hanging a slender shelf or demilune table. Then paint a color block or decorative outline, such as this ribbon design, on the wall above it to give it sizable presence. Hang a small mirror to reflect an array of pretty collectibles or a vase of fresh flowers.
source